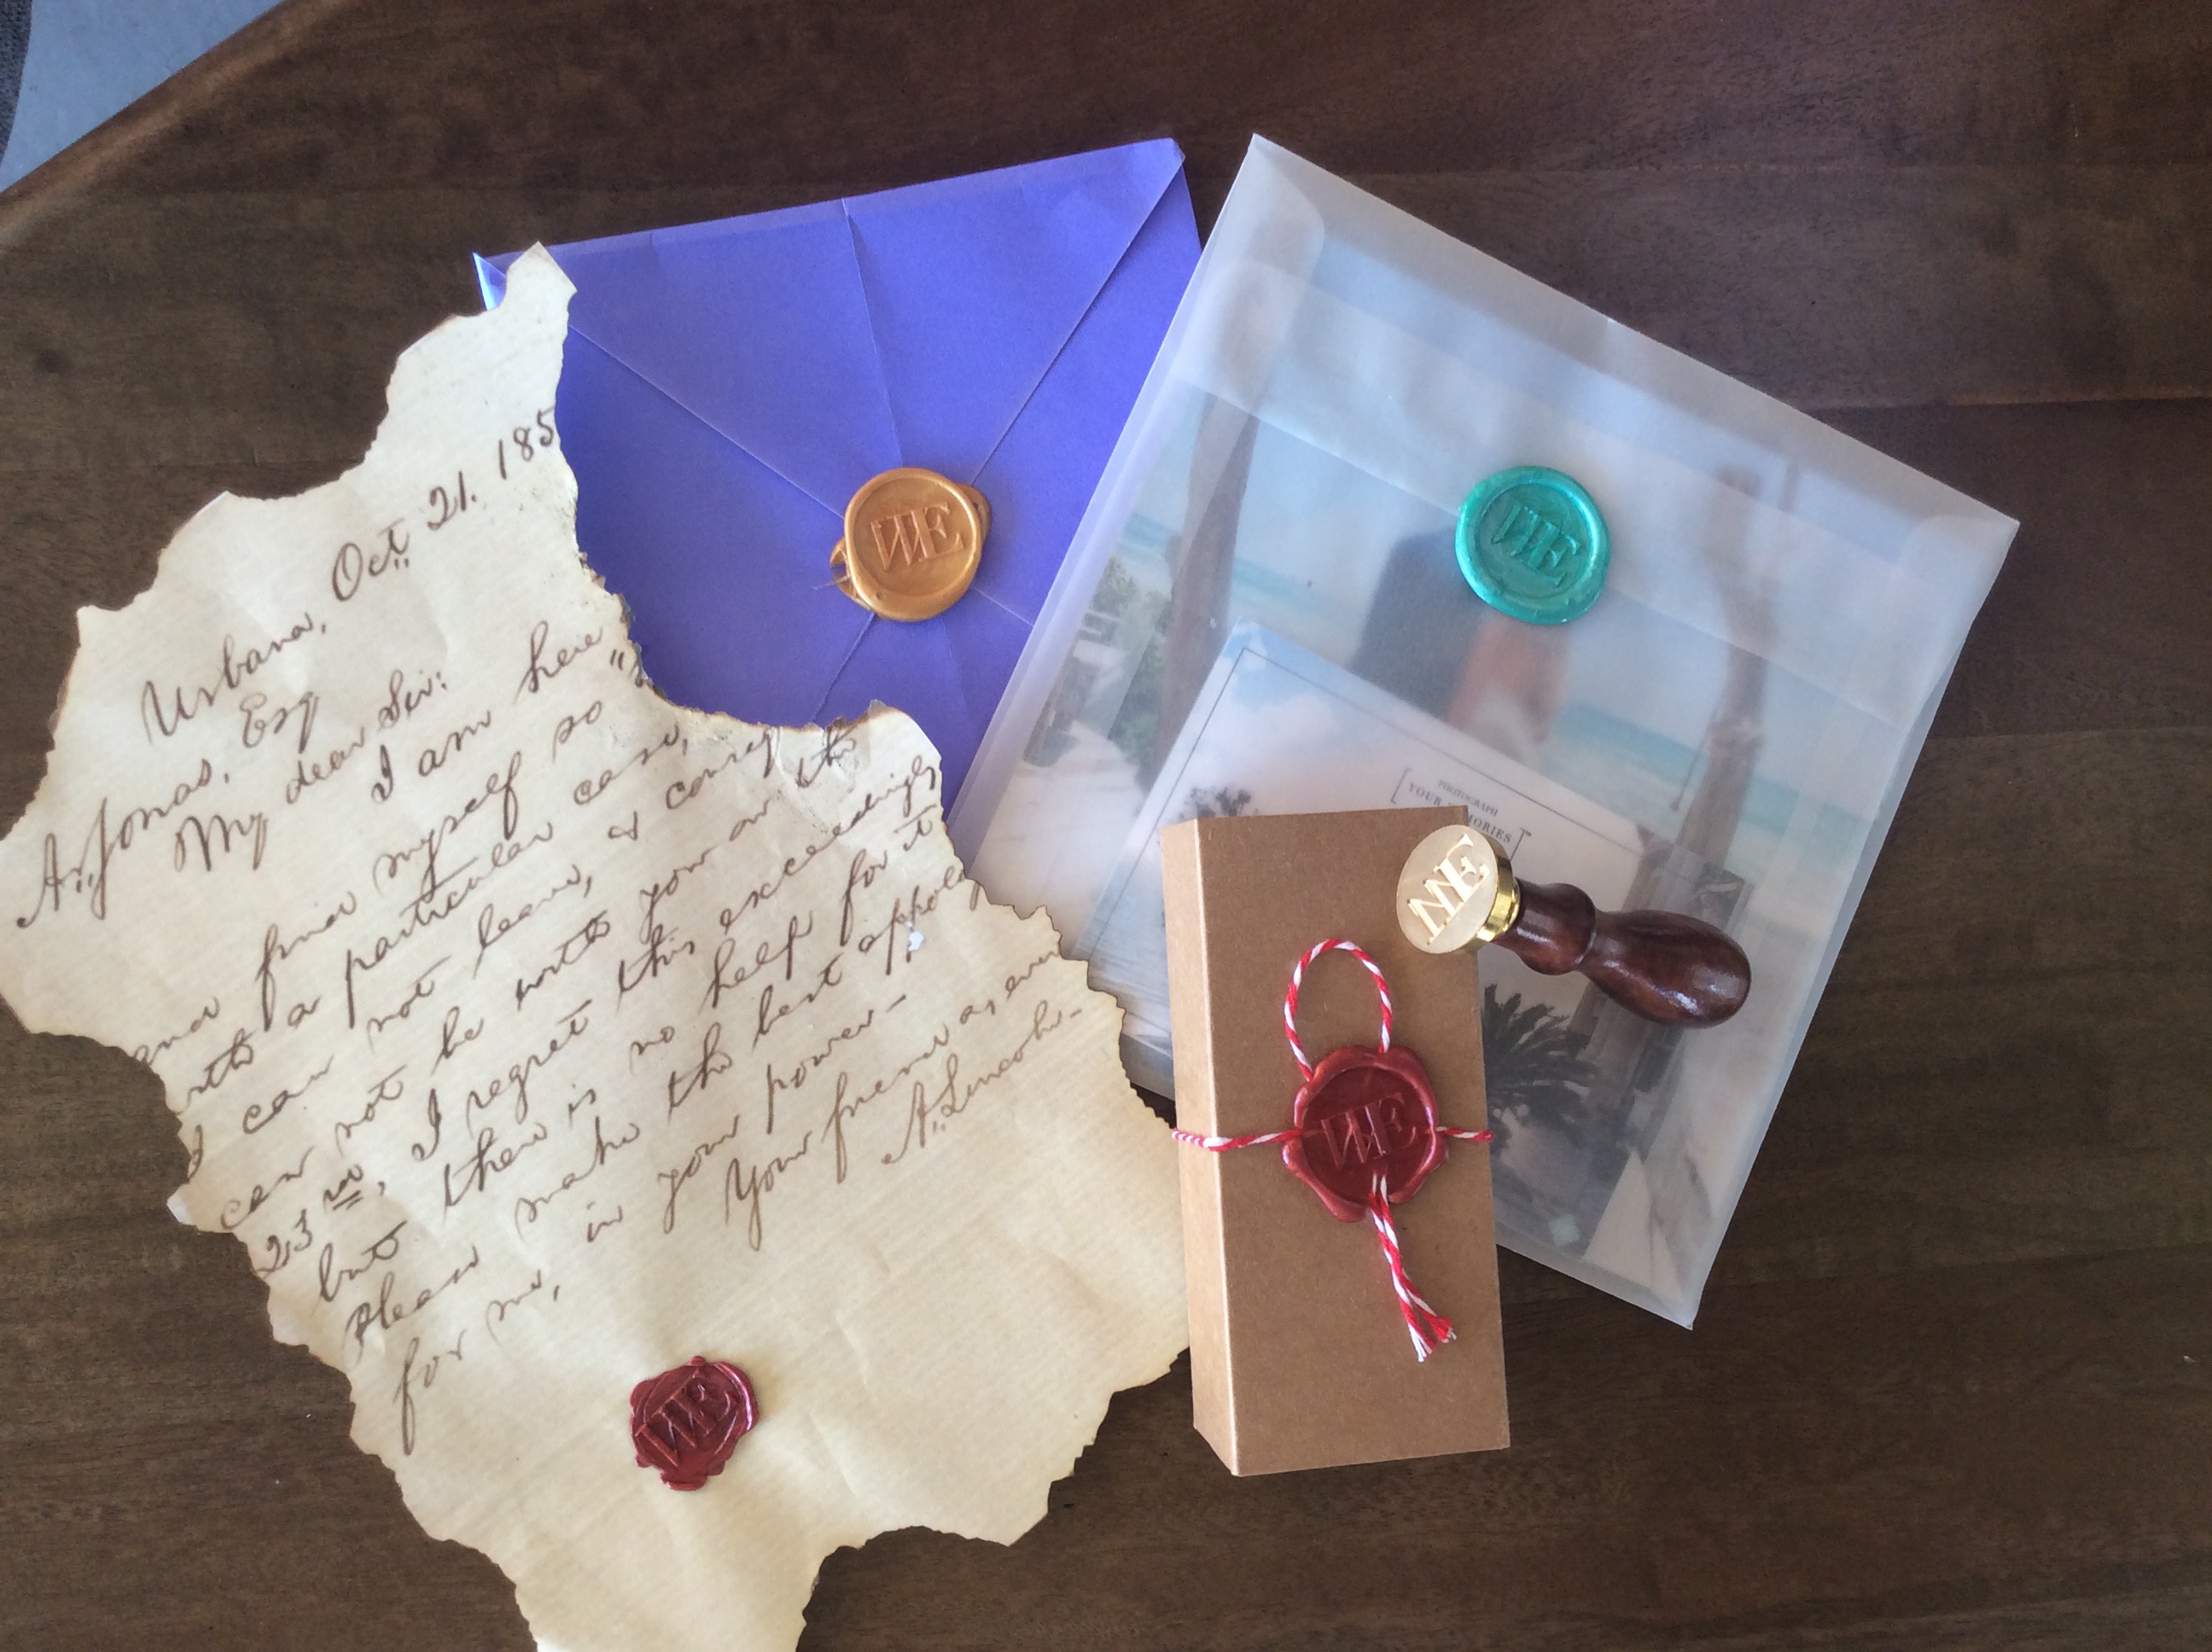
We love receiving wedding invitations; from the colors, to the text style, to the design choice, we love being able to catch a glimpse of what the wedding will look like and are always so impressed with the attention to detail given to them. A common feature of wedding invitations is a wax seal embossed with the couples’ initials, wedding date, or a meaningful symbol that adds an extra touch of elegance to the invite. We decided to learn how to make our own wax seals with our custom “WE” logo. Though it was a bit intimidating at first, after a couple of tries, we were eventually able to perfect it. With some practice you will be an expert in no time as well, ready to conquer the invitations for all your special occasions. Enjoy our tutorial!
Materials needed:
- wax seal kit (comes with a custom logo stamp & set of wax sticks)
- candle
- spoon
Video: wax seal tutorial
Picture Guide:
1. Melt the wax stick onto a spoon over a candle, until a generous amount can be used for the seal. The wax stick can be melted directly over the candle but, we prefer to do it onto a spoon to make the pouring of the wax easier.

2. Take the spoonful of wax and pour it onto a envelope. For a more precise shape, we formed the outer rim of the circle first, and then proceeded to fill in the circle.

3. Since the wax dries rapidly, quickly press the stamp onto the wax after you’ve poured all of it and hold it down for about 30 seconds. If the wax hasn’t spread out enough, before you place the stamp down, use the stamp to quickly swirl it around before pressing it down.

4. Remove the stamp and you’ll see the finished product. Have fun stamping!
