From exchanging vows with the love of your life to dancing the night away with your friends and family, your wedding day irreplaceable memories that will stick with you. To keep those moments alive, photos, videos, and physical keepsakes are so important to hold on to. Keep track of small things from your wedding like your jewelry, written vows, or your preserved wedding bouquet to help you remember the magic of the day for years to come.
Wedding bouquets are so special because they capture the textures and colors of your wedding. Though fresh flowers eventually wither, preserving them allows you to freeze that moment in time. There are countless ways to preserve flowers. To help you find some inspiration, we highlight a few of the best methods for you to save your bouquet after the big day.
Method #1: Book Press
Pressing flowers is the most familiar method of preserving blooms. The odds are you have probably pressed flowers at some point. Whether it was in science class or after your homecoming dance, this simple method has been a go-to technique for centuries. If you would like to frame your flowers, grab a few books and some coffee filters and your wedding flowers will be ready in just a few weeks.
Please include attribution to zola.com with this graphic.Materials needed:
- Flowers
- 2–3 Heavy books
- Coffee filters
Instructions:
- Choose a few blooms from your wedding bouquet and trim away stems.
- Fit your blooms inside the coffee filter and avoid overlapping.
- Open a heavy book to the middle and place the coffee filters with flowers inside.
- Stack your additional book on top for additional weight and leave for at least three weeks.
Method #2: Silica Gel
If you would rather retain the shape and color of your bouquet, silica gel may be a better option than pressing. This technique dries blooms so that they can be displayed in a shadow box or vase. Dried flowers make for a beautiful and memorable addition to any room.
Please include attribution to zola.com with this graphic.Materials needed:
- Flowers
- Airtight container
- Silica gel
- Paintbrush
- Hairspray
Instructions:
- Trim the stems of your favorite flowers to your desired size
- Pour silica beads into your containers until it is about an inch deep.
- Carefully lay your cut blooms on top of the silica and pour additional silica over the flowers.
- Put a lid on the container and leave it for one week.
- Uncover the container, gently remove flowers, and use a paintbrush to dust off silica.
- Finally, spray your flowers with hairspray to keep out moisture.
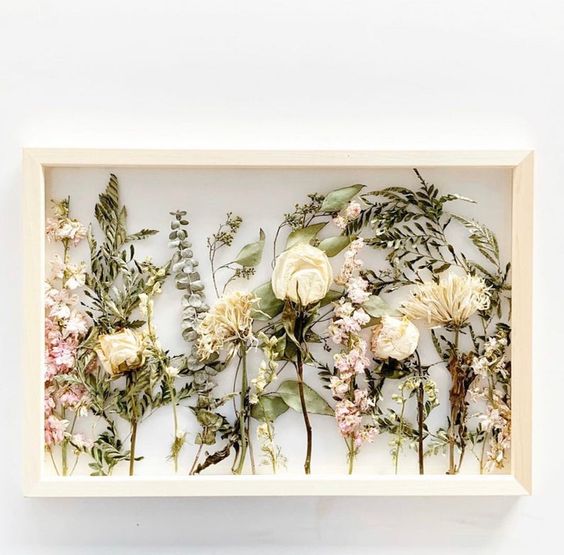
Method #3: Epoxy Resin
If you want to get creative with your wedding bouquet, epoxy resin can help you turn your blooms into anything you would like. From photo book covers to jewelry, the sky’s the limit. Make sure to use the silica method or another drying technique to make sure your flowers are dry before you put them in resin.
Please include attribution to zola.com with this graphic.Materials needed:
- Dried flowers
- Epoxy resin
- Gloves
- Mixing cup (plastic, glass, or ceramic)
- Stir stick
- Tweezers
- Desired mold
Instructions:
- Pour resin in a mixing cup and thoroughly stir until all air bubbles escape the solution.
- Pour resin into your mold until the bottom is covered.
- Use tweezers to carefully arrange your dried flowers.
- Pour remaining epoxy resin over the flowers and let it set for the instructed time on the package.
- Take your project out of the mold once it is set and accessorize as you please.
The entire wedding planning process is full of beautiful moments. Accepting a proposal, setting a date, excitedly compiling your wedding registry, finding the dress, and celebrating with loved ones are memories that will stick with you. Preserve your bouquet and every other keepsake you can so that you will remember the magic of this day for years to come.